Outline
- Introduction
- How to Install phpMyAdmin
- Conclusion
1. Introduction
phpMyAdmin is a free, open source web-based database management tool that allows the database administrators to manage database server. In my previous article I have showed you how to install Apache Webserver in Ubuntu Virtual machine. The server we have installed has MySQL as relational database management system. So to get browser based interface that manages our MySQL we need to install phpMyAdmin.
In this article I will show you how to install phpMyAdmin on our Ubuntu Server. First login to your server using ssh (such as puTTY) then follow the steps below.
2. How to Install phpMyAdmin
1. Update the repository using the following command
sudo apt-get update
2. Using the apt packaging system pull down the file and install it using the following command
sudo apt-get install phpmyadmin
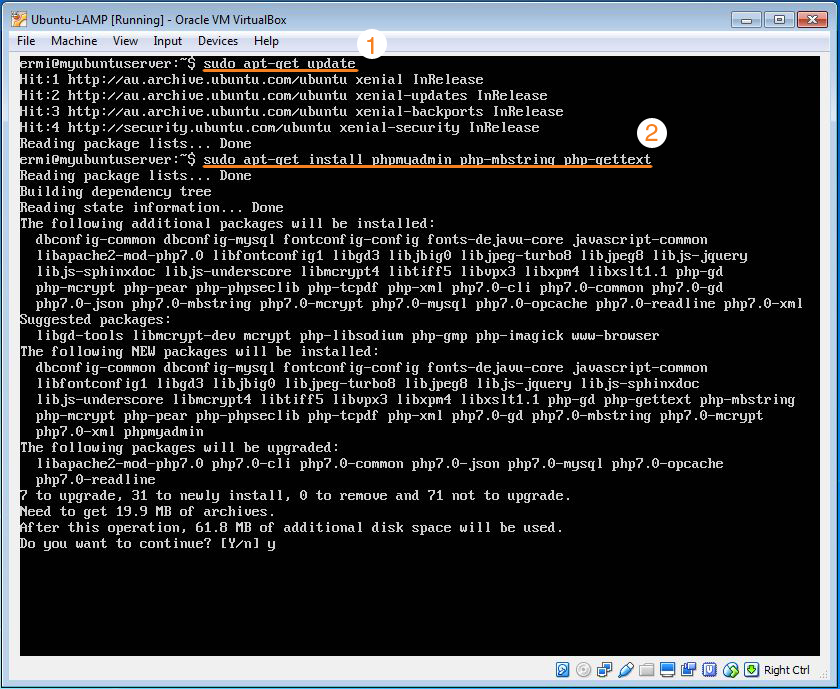
3. When you are asked to choose the web server that should be automatically configured to run phpMyAdmin, select apache2. Since we have installed Apache server.
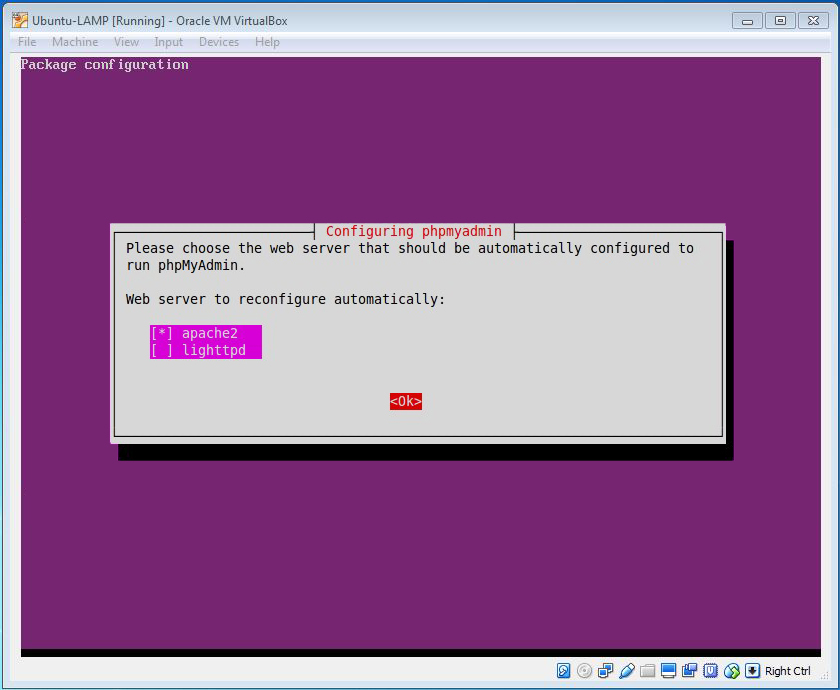
4. When you are asked to configure database for phpmyadmin with dbconfig-common select .
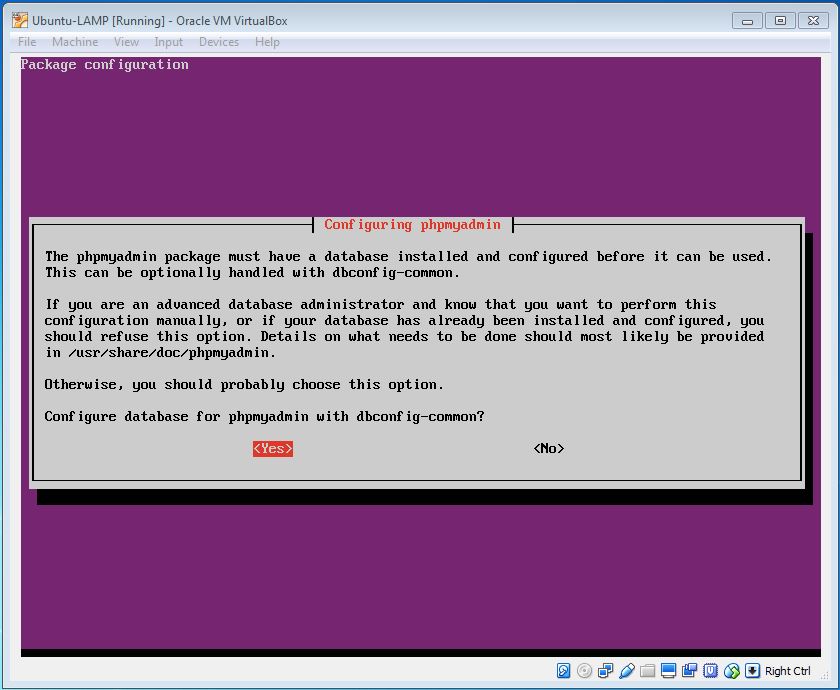
5. Put password for phpmyadmin to register the database server. (And Confirm the password)
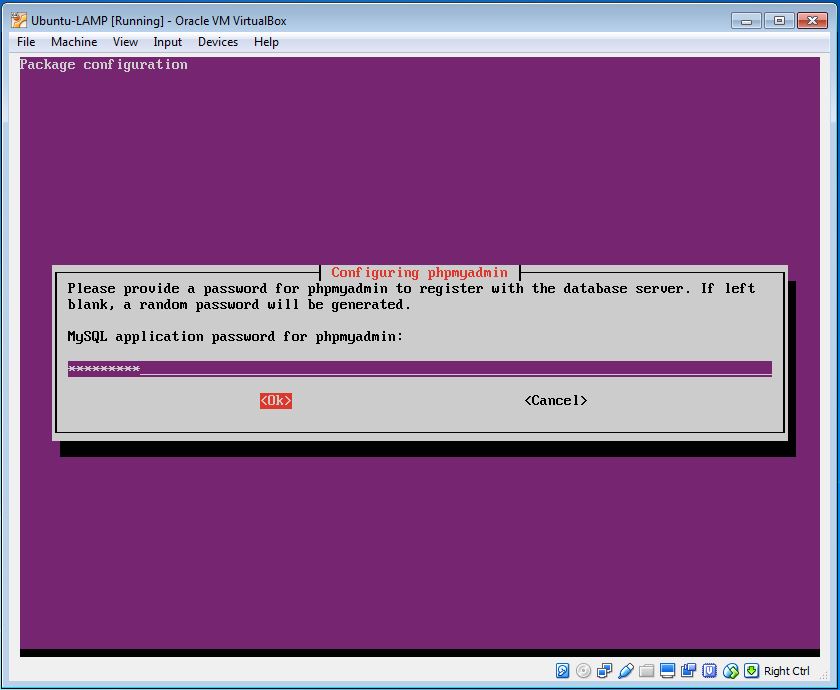
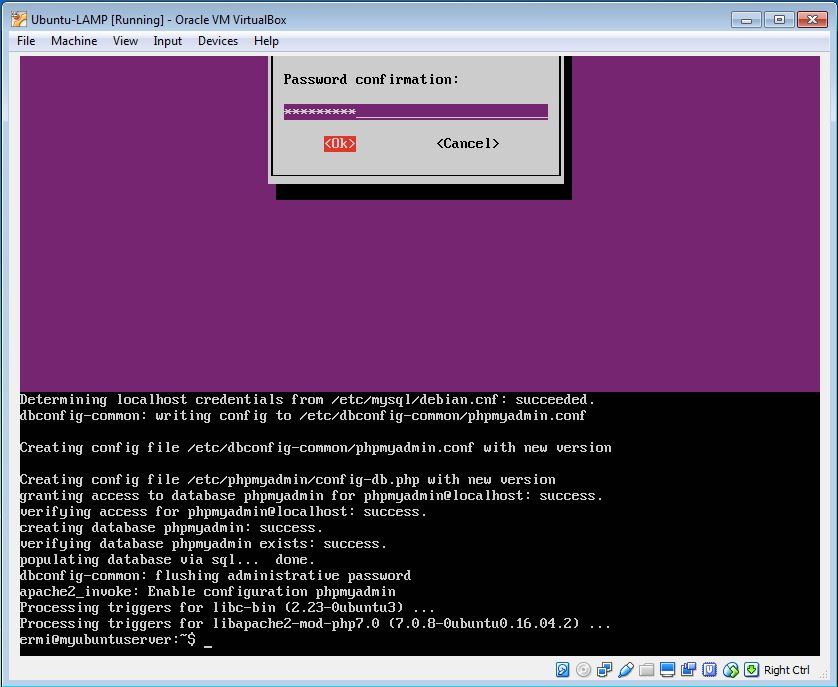
6. You will get success message as follows.
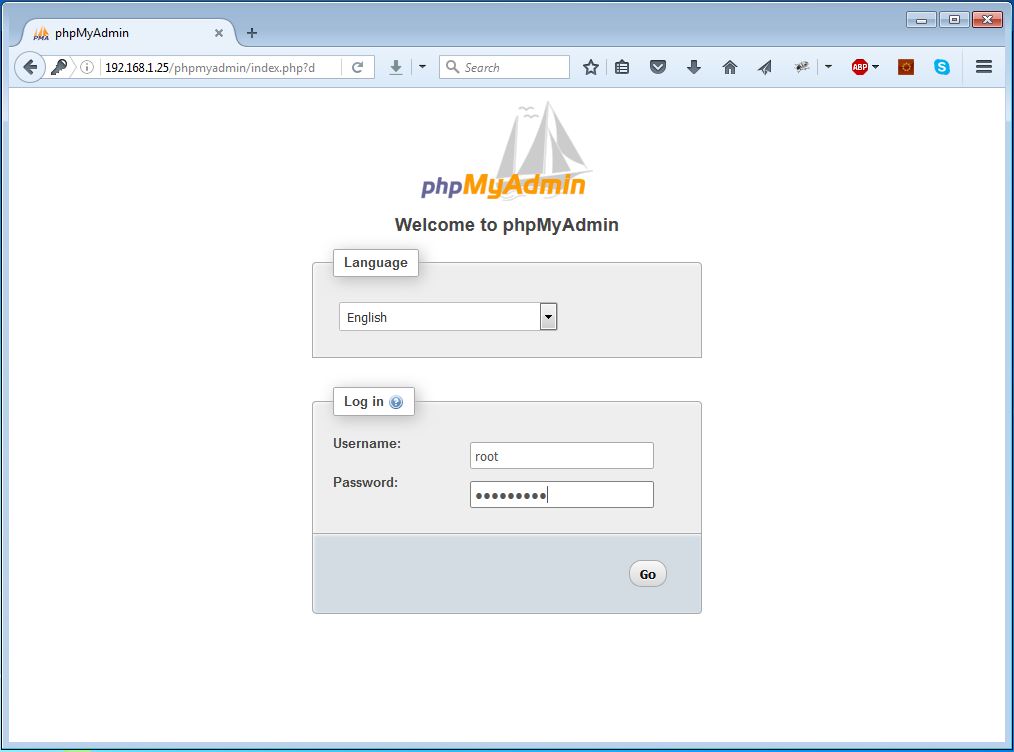
7. To check if it is properly installed open your browser and browse /phpmyadmin. If it is successfully installed you will see the phpMyAdmin login page.
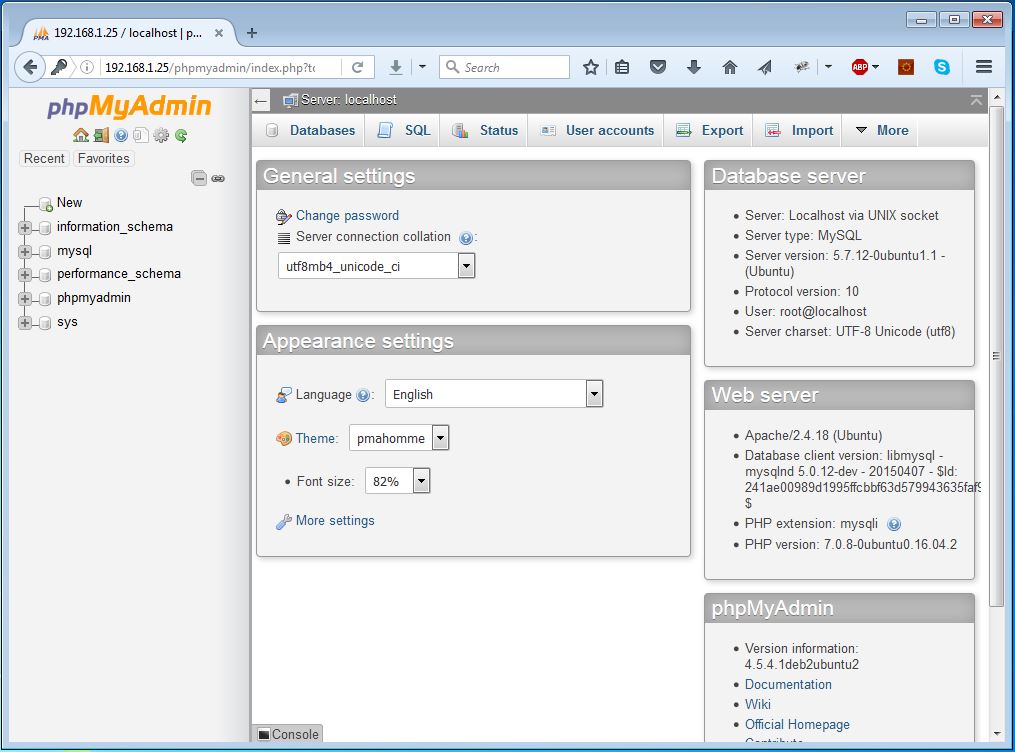
8. Login as root using the password you have selected previously and you will be able to see the the database.
3. Conclusion
Now we can manage our MySQL database using browser based interface by logging to /phpmyadmin using our username (root) and password. If you want to read on how to interact with Apache Server read my other article Interacting with Apache Web Server.
Enjoy your database!!
http://www.ostechnix.com/install-phpmyadmin-with-lamp-stack-on-ubuntu-16-04/[/toggle][/accordian]

